
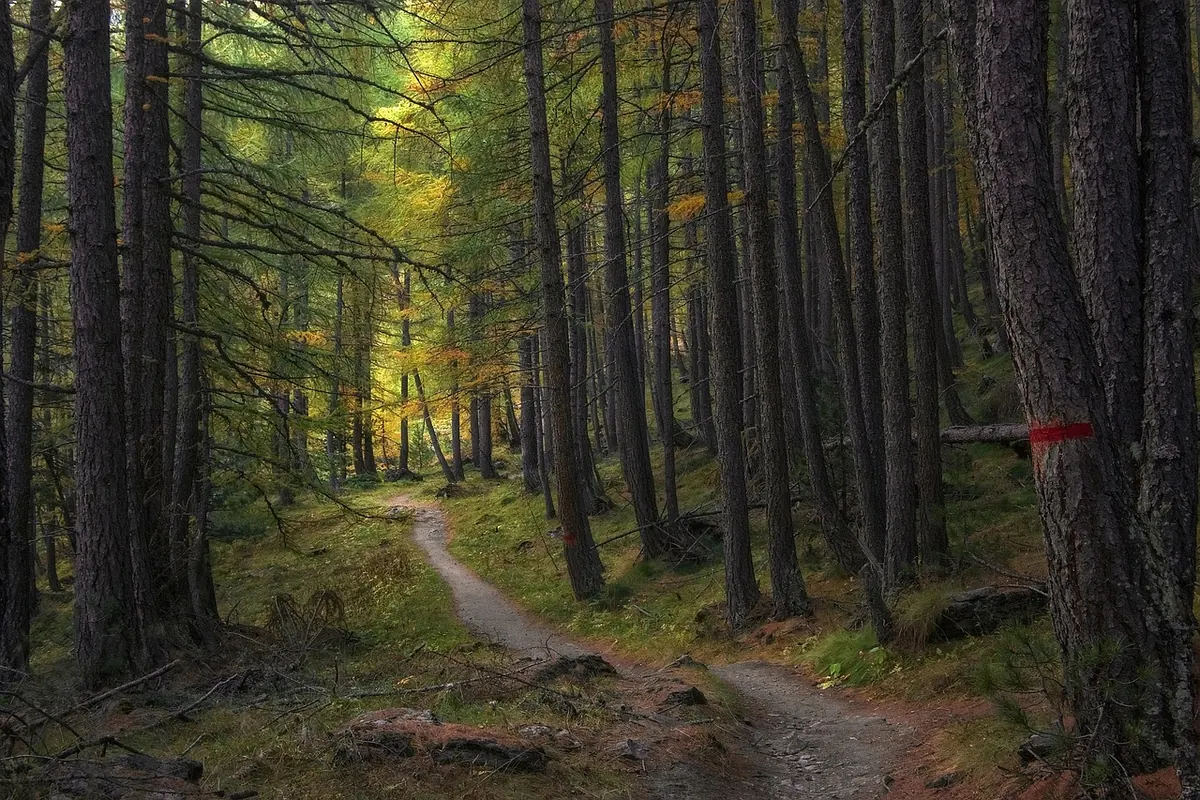
Larch is the conifer that keeps you on your toes. It looks like a Christmas tree for half the year, then turns gold in October and drops every needle, leaving a bare, knobbly skeleton until spring. The cones are small and neat, and the seed inside them is easy to handle once you know the one trick that matters: larch seed will not germinate without a cold, damp spell first. Get that right and the rest is ordinary gardening.
Which larch are you growing?
Three larches do most of the work in Britain. European larch (Larix decidua) is the traditional one, with slender cones and soft green needles. Japanese larch (Larix kaempferi) grows faster, tolerates wind and poorer ground a little better, and has cones with scales that curl outwards like tiny rolled-up leaves. The Dunkeld larch (Larix × marschlinsii) is the natural hybrid between the two, first noticed near Dunkeld in Perthshire, and it is often the most vigorous of the lot.
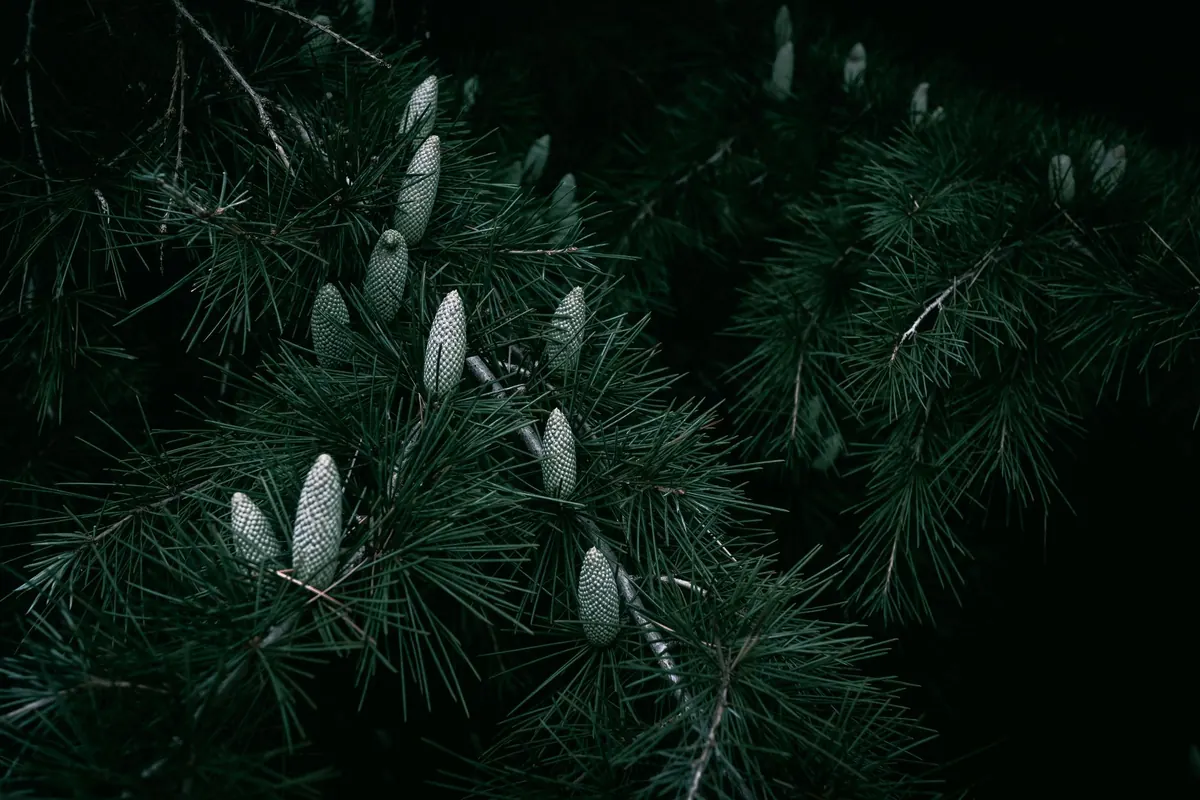
If you are collecting from a park or a plantation, look at the cones before you commit. Japanese larch cones are broader with distinctly reflexed scales; European cones are narrower and the scales sit flat. It does not matter enormously if you mix them, but it is worth labelling honestly so you know what you have in three years' time.
Collecting cones
Cones ripen from green to brown between late September and November, depending on species and how far north you are. The window is short. Once the scales open fully, the seed falls out within days, and you will be left with a handful of empty husks. Aim to pick when the cones have started to turn brown but most scales are still shut, or catch them just as they begin to open.
Choose trees with straight trunks, good vigour and healthy crowns. Avoid anything with dead tops, resin bleeding or dieback in the crown, which can indicate disease. Take a modest number of cones from each of several trees rather than stripping one, and only from branches you can reach safely with a pole pruner or by hand.
A necessary note: larch in parts of the UK has been affected by Phytophthora ramorum, and statutory controls apply in some areas. Before moving cones, seed or young plants any distance, check the current guidance from the relevant forestry authority for your part of the country. If you are collecting from a wood you do not own, ask permission first.
Extracting and storing the seed
Spread the cones in a single layer on a tray lined with newspaper and leave them somewhere warm and dry — an airing cupboard, a shed shelf, a room with the heating on. Not an oven, and not a radiator top, which cooks the seed. Over one to three weeks the scales open and the winged seed falls out. Shake the tray every few days.
Rub the seed gently between your palms to separate the wings, then winnow it by pouring from one bowl to another in a light breeze. A quick test helps sort good seed from chaff: drop it in a glass of water. Plump, viable seed tends to sink; hollow seed usually floats. Dry the sinkers on kitchen paper for a day, then store them in a labelled paper envelope in a cool, dry place. Larch seed keeps for a few years, but germination falls off with age, so fresh is best.
Stratification: the cold spell that makes it work
This is the step people skip, and it is the reason a lot of larch seed sits in a pot doing nothing for a year. The seed needs several weeks of cold and moisture to break dormancy. You have two honest options:
- Fridge method. Mix the seed with just-damp sand or vermiculite — damp as a wrung-out flannel, never wet — seal it in a labelled polythene bag and keep it at roughly 2–4°C for four to eight weeks. Check weekly for mould and give the bag a shake. Slightly longer is safer for European larch; four to six weeks suits Japanese larch.
- Outdoor method. Sow in pots or a seed tray in late autumn, water well, and leave them outside for the winter under mesh to keep mice out. Nature does the chilling for you and germination happens when the soil warms in spring. Less fuss, less control.
Sowing and germination
Sow in late winter or early spring if you have used the fridge. Use deep pots or root trainers filled with a free-draining seed compost, ideally mixed with a little grit or perlite. Scatter the seed thinly on the surface and barely cover it — a dusting of compost or fine grit is enough, because larch germinates best with some light.
Water from below by standing the pot in a tray, or mist the surface gently. Cover with a clear lid or a polythene bag and keep the pots at around 15–18°C. Germination usually starts within two to four weeks, and it is seldom even. Take the cover off the moment the first green seedlings appear, and give them bright light but not baking sun. Cool, bright conditions produce stocky seedlings; warm, dim conditions produce pale, floppy ones that never quite recover.
Pricking out and growing on
Let the seedlings develop a few true needles before you move them. Lift each one by a leaf or by the root ball, never by the stem, and pot it into its own deep container. Larch puts down a taproot quickly, so shallow trays and small modules cause more trouble than they are worth. A deep pot now saves a stunted tree later.
Harden the young plants off gradually over a fortnight, then stand them outdoors in a sheltered spot that gets morning sun and shade from the fiercest midday heat. Once established, they want full light. Keep them watered through the first summer, but never sitting in a puddle. A weak liquid feed every few weeks from early summer is plenty; stop by late August so the growth hardens before winter. Watch for slugs, vine weevil in the pots, and mice or voles gnawing bark at ground level.
Planting out
Plant out from November to March, when the trees are dormant and the ground is neither frozen nor waterlogged. Larch wants an open, sunny site and free-draining soil. It copes with poor, acid ground and exposed positions, but it sulks in deep shade and hates heavy, wet clay. Give it room: this is a big tree eventually, so a specimen planting needs many metres of clearance, while a shelterbelt row can go in at about two metres apart. Keep grass and weeds clear for the first two seasons and mulch with bark or compost, and protect the stems from rabbits and deer if you have them about. A well-grown seedling should reach 30–60cm in its first full season outdoors.
Practical tips to finish
Label everything with species, source tree and date, because seedlings all look alike by July. Sow more than you need and accept that losses are normal. Do not overwater, and do not feed heavily — larch in a rich, soggy pot is a larch asking for root rot. Expect the needles to turn gold and fall in autumn; that is the tree working properly, not dying. And be patient with the first year. Larch is quicker than oak by a wide margin, but it still takes its time, and the tree you plant out is really a fifteen-year project.
Photo: Wyxina Tresse / Pexels
Related posts
More stories you’ll love reading